
How to Photograph Empty Rooms for Virtual Staging
How to Photograph Empty Rooms for Virtual Staging is usually a search for fewer regenerations and fewer warped results. Virtual Staging AI Real Estate keeps that process mobile and repeatable with room presets, style controls, and before-and-after exports.

Scan to download
When this search intent is a fit
This angle makes sense when you need source photos good enough that the staging step actually works. The app helps you move from an empty room photo to shooting empty rooms specifically so they can be staged afterwards without waiting on furniture logistics.
What the app actually helps with
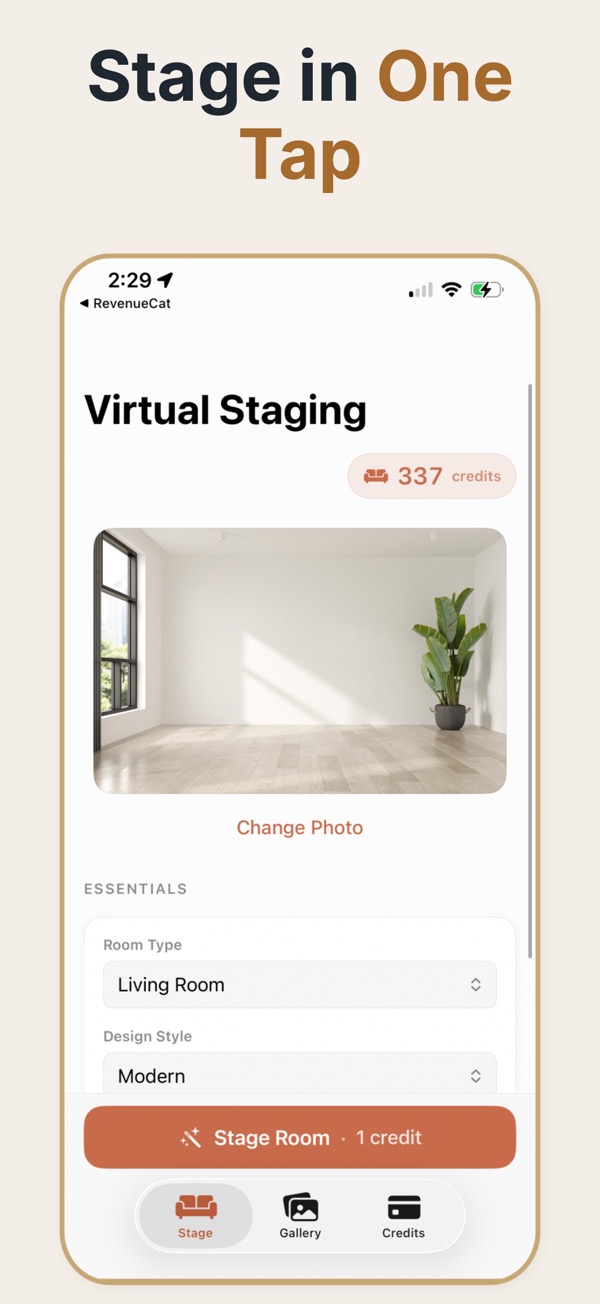
Upload a real room, choose a design direction, tune furniture density and decor, and export polished results for listings, seller reviews, presentations, or internal approvals.
What teams use inside the workflow
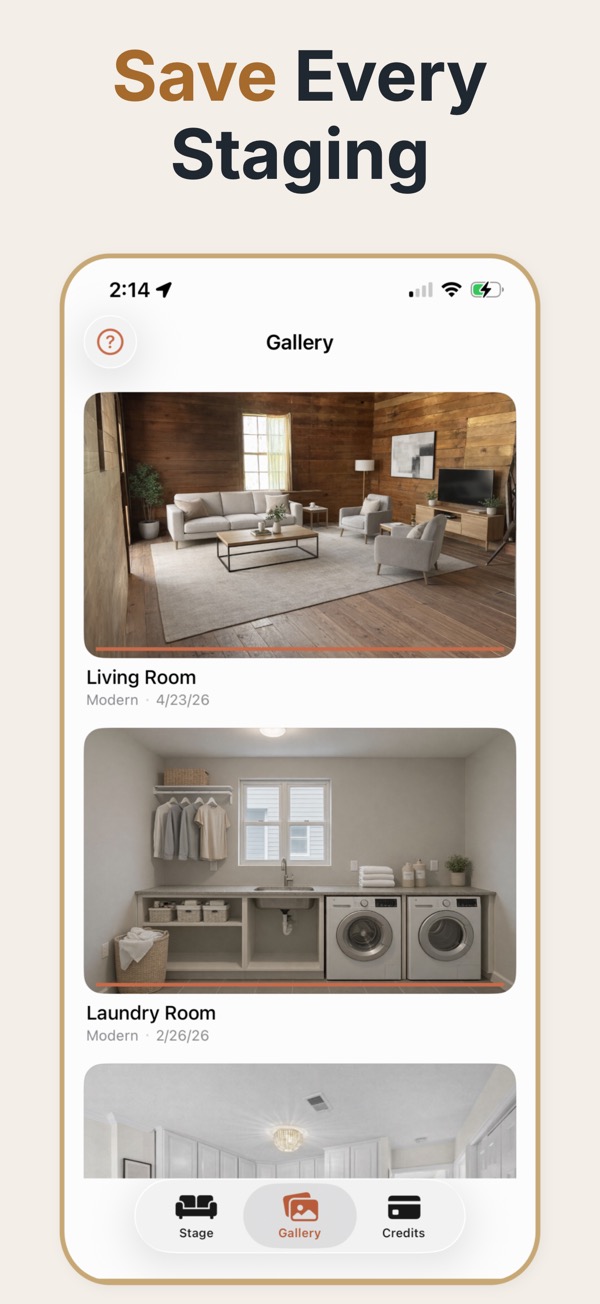
- Preview How to Photograph Empty Rooms for Virtual Staging on real room photos instead of generic concept art.
- Switch among multiple styles, palettes, and room types from the same device.
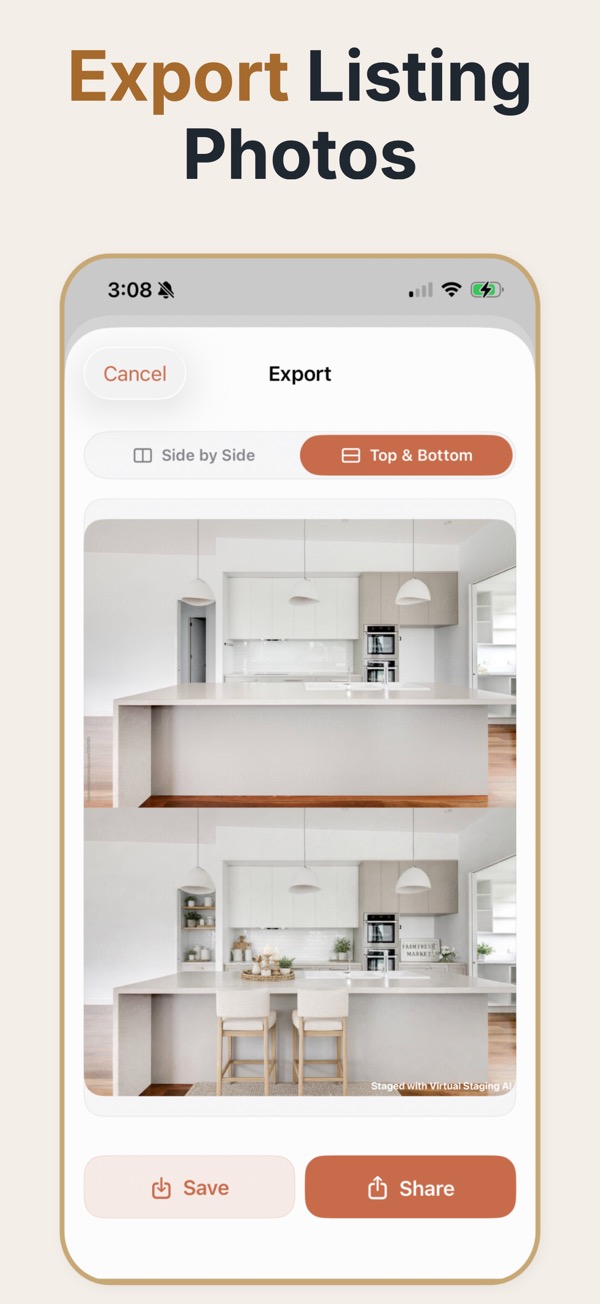
- Save before-and-after exports that are easy to share with clients or teammates.
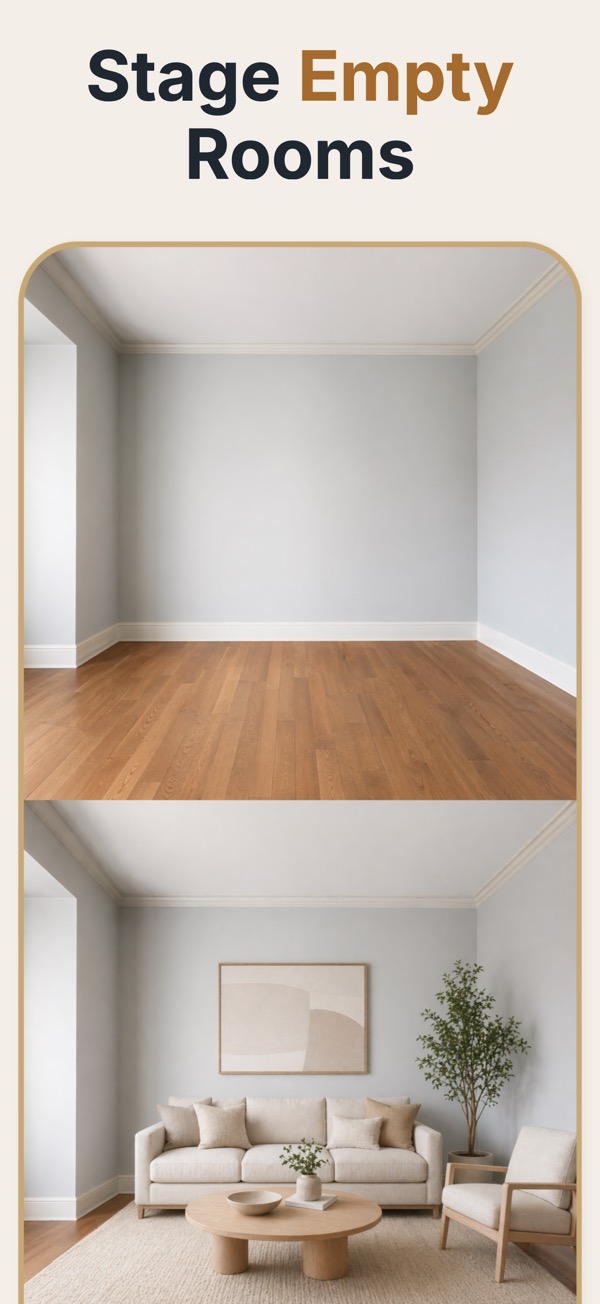
Staging quality is decided before any software runs. A level, well-lit photo of an empty room taken from a corner will stage cleanly on the first attempt; a dark, tilted ultra-wide shot will produce warped furniture no matter how good the model is.
What the staging step needs from a photograph
Generative staging reads the geometry of the room from the image, so it needs geometry it can read. That means straight verticals, visible floor, and at least two walls meeting at a corner, which together tell the model where the room's boundaries are and how big it is. It also means even light: a room lit half by daylight and half by a warm ceiling bulb gives the model contradictory information about colour temperature, and the furniture it generates will look pasted in. The single most common cause of poor results is not resolution but the ultra-wide lens, which bends the room at the edges. Staging inherits that distortion and amplifies it, which is why a standard focal length from a corner outperforms a wider shot that fits more of the room in.
Shooting a room so it stages well
- Stand in a corner and shoot toward the opposite corner, at roughly chest height.
- Keep the camera level. Tilting bends verticals and the staging will inherit the bend.
- Use the standard lens, not ultra-wide, even if it means the room looks smaller in frame.
- Open the blinds, turn on every light, and shoot in daylight so colour temperature is consistent.
- Clear the room completely. A half-cleared room stages far worse than a genuinely empty one.
Difficult rooms
Very small rooms
Back into the doorway and shoot from there rather than reaching for ultra-wide. A tighter true-perspective frame stages better than a distorted wide one.
Rooms with strong backlight
Shoot with the window behind or beside you. If that is impossible, expose for the room and accept a blown window.
Sloped ceilings and awkward alcoves
Include the full slope in frame. Cropping it out gives the model incomplete geometry and it will invent the missing part.
Photography mistakes that ruin staging
- Ultra-wide framing, which produces warped furniture at the edges of every generated image.
- Shooting into a window, leaving the room backlit with no shadow detail for the model to work from.
- Holding the camera at waist height, which exaggerates the floor and distorts furniture scale.
- Leaving a few objects in the room, which the model tries to work around and usually mangles.
Capture settings that matter
- Camera height
- Chest height, roughly 1.4 m. Lower exaggerates the floor; higher flattens the room.
- Lens
- Standard. Ultra-wide is the single biggest cause of warped staging output.
- Position
- A corner, shooting diagonally, so two walls and the floor are all visible.
- Light
- Daylight plus interior lights on. Avoid mixing warm bulbs with cool daylight where possible.
- Room state
- Completely empty. Partial clearance produces worse results than either extreme.
Common questions
How fast can the app create a staged room?
Most jobs are positioned around a sub-minute workflow, which helps when you are reviewing several rooms or preparing listing media on a deadline.
What can I control before generating the staging?
You can adjust room type, design style, palette direction, furniture density, lighting, and decorative details before generating.
Can I save before-and-after images for reviews or marketing?
Yes. The app supports staged exports and before-and-after layouts that work well for seller reviews, listing decks, and internal approvals.
Do I need a professional camera?
No. A recent phone camera in good light produces source photos that stage well. Framing, level horizon, and lighting matter far more than the sensor.
Should I use the ultra-wide lens to fit the whole room in?
No — this is the most common mistake. Ultra-wide bends the room at the edges and the staging inherits the distortion. Back into the doorway instead.
Does the room need to be completely empty?
Ideally yes. A few remaining objects are worse than either a full room or an empty one, because the model has to work around them and usually distorts them.
What time of day is best?
Mid-morning or mid-afternoon with blinds open. Direct low sun creates hard shadows that make the generated furniture's lighting hard to match.